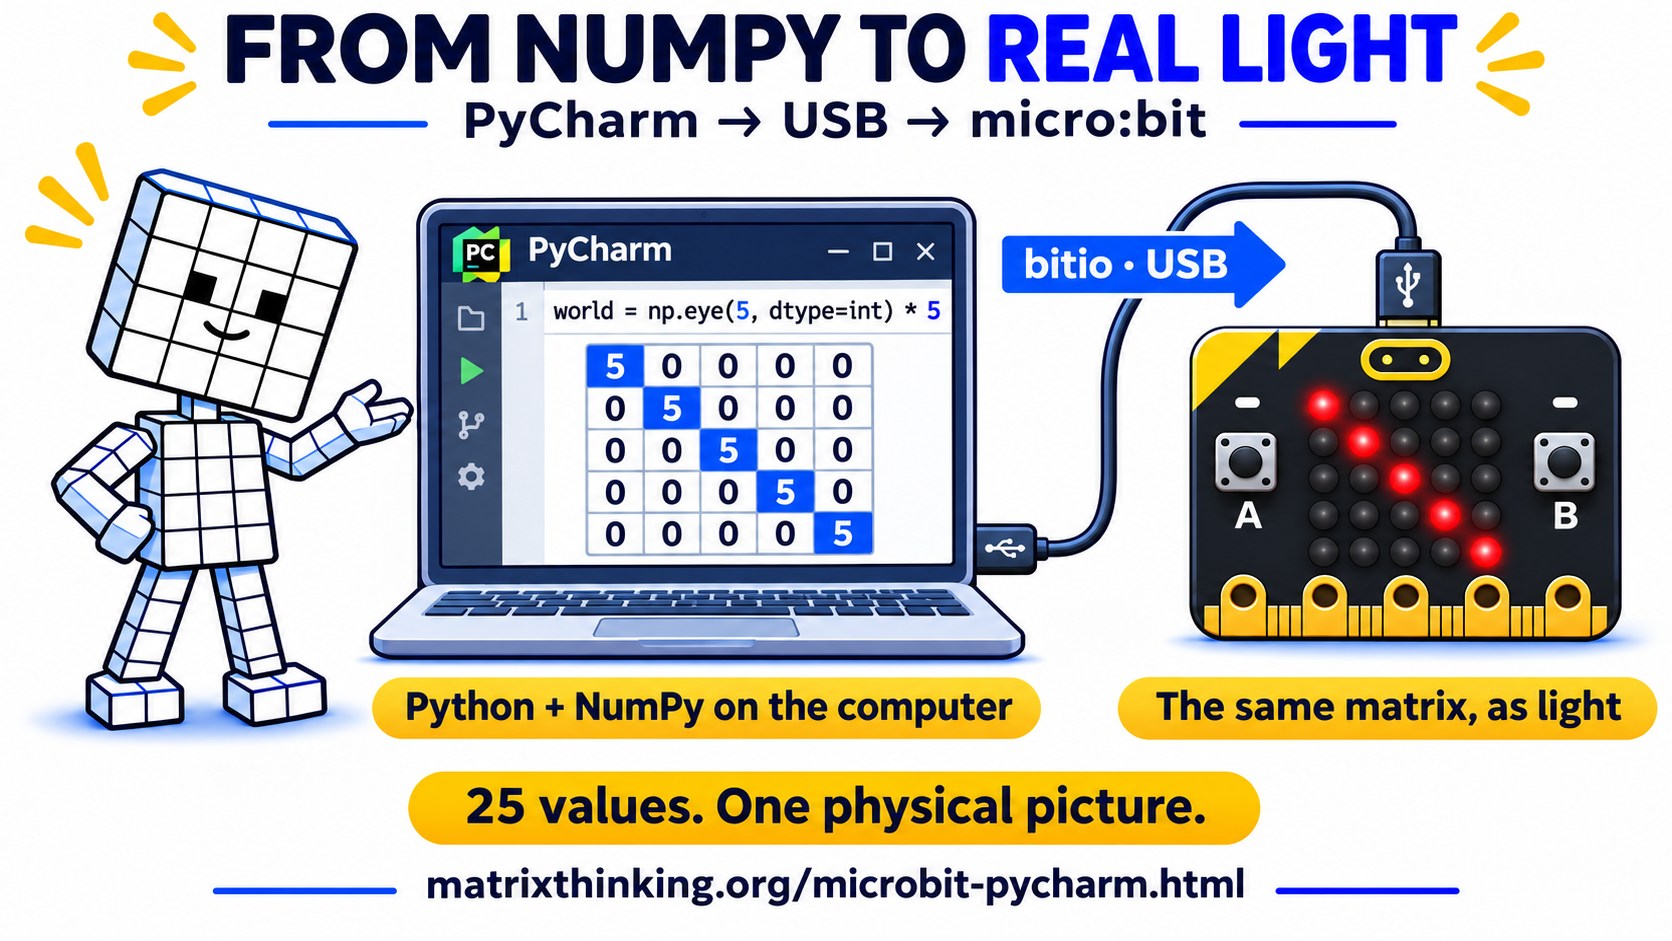
Where does the code run?
We have been exploring Matrix Thinking on micro:bit. Connecting the board to Python on a computer opens another route: the computer can use NumPy to calculate a whole matrix, while the board provides the physical display, buttons and supported sensors.
This guide follows the newarch branch used in our setup. bitio is a third-party project; available board features depend on its firmware and API. The author’s README is the reference for the library.
Connect your micro:bit
Connect a data-capable USB cable
Plug the board into your computer. It should appear as a drive named MICROBIT. A charging-only cable cannot provide the connection needed here.
Prepare the board
Open bitio.hex in the author’s repository and use Download raw file. Copy the downloaded HEX file onto the MICROBIT drive. This replaces the program currently on the board; keep the source of any project you want to restore.
Wait for flashing to finish. The bitio logo should appear. Use the HEX file and Python package from the same
newarchbranch.Install bitio in your PyCharm project
Open a Python project in PyCharm and its Terminal. Use the Python interpreter belonging to that project’s environment. The command below downloads bitio from GitHub and requires Git to be installed.
python -m pip install "git+https://github.com/whaleygeek/bitio.git@newarch#subdirectory=src"
python -m pip install numpy
To check which interpreter the Terminal is using:
python -c "import sys; print(sys.executable)"It should match the interpreter selected for running the project. For a new Python installation, start with our workspace setup guide.
Run a happy-face test
Create a file named
hello_microbit.pyand run this code. Avoid naming your filemicrobit.py, which would hide the installed package.import microbit microbit.display.show(microbit.Image.HAPPY) microbit.sleep(3000)On the first run, follow the instructions in PyCharm’s Run console. bitio may ask you to unplug the board, press Enter, reconnect it, and press Enter again to identify its serial port. The happy face is displayed for three seconds; after the program ends, bitio may restore its logo.
One NumPy matrix, one LED picture
The display has five rows and five columns. Each value represents brightness: 0 is off, 9 is brightest. This example creates a diagonal with brightness 5:
world = np.eye(5, dtype=int) * 5[[5 0 0 0 0]
[0 5 0 0 0]
[0 0 5 0 0]
[0 0 0 5 0]
[0 0 0 0 5]]One cell in the array corresponds to one LED. Row 0 is the top of the picture; column 0 is its left edge.
The whole picture can then be reflected with:
world = np.fliplr(world)The values remain the same; their positions change. The bright diagonal now runs from the top right to the bottom left.
The complete program
Save this as microbit_numpy.py, or download the file below. It displays the original matrix for three seconds, then its reflection for three seconds.
"""Run on your computer with NumPy, bitio and a USB-connected micro:bit."""
import numpy as np
import microbit


def show_world(world):
    """Convert a 5 x 5 brightness matrix into a micro:bit image."""
    if world.shape != (5, 5):
        raise ValueError("The micro:bit display needs a 5 x 5 matrix.")
    pixels = np.clip(world, 0, 9).astype(int)
    bitmap = ":".join("".join(str(value) for value in row) for row in pixels)
    microbit.display.show(microbit.Image(bitmap))


world = np.eye(5, dtype=int) * 5
print("Original matrix:\n", world)
show_world(world)
microbit.sleep(3000)

world = np.fliplr(world)
print("Reflected matrix:\n", world)
show_world(world)
microbit.sleep(3000)
np.fliplr transforms the whole array. The small loops inside show_world only turn its rows into the colon-separated image string understood by micro:bit. np.clip keeps output brightness in the range 0–9.If the connection does not work
- No MICROBIT drive: check the USB cable and port.
- No module named microbit: check that the package is installed in the same interpreter used by the Run configuration.
- Port busy: close other programs or browser sessions that are connected to the board’s serial port.
- The connection opens but commands fail: check the matching bitio firmware and consult the author’s README for board support and driver notes.
This article’s example was checked for array transformation and image formatting. The basic bitio connection and display workflow were also tried on our board. Behaviour on other board and operating-system combinations follows the bitio project’s compatibility limits.
Make a rule visible
Once connected, students can keep a complete brightness matrix on the computer and transform it with reflections, shifts, masks and shared arithmetic rules. The physical result gives every number an immediate meaning.
For experiments that run directly on the board, explore our micro:bit labs with MakeCode and MicroPython.